
Step 1
Installation and Activation of the Native App (Required)
Step 1: Access the easypay app link
Access the link https://apps.shopify.com/easypay-mbway-mb-visa and click on the “Install on your Shopify store” button. 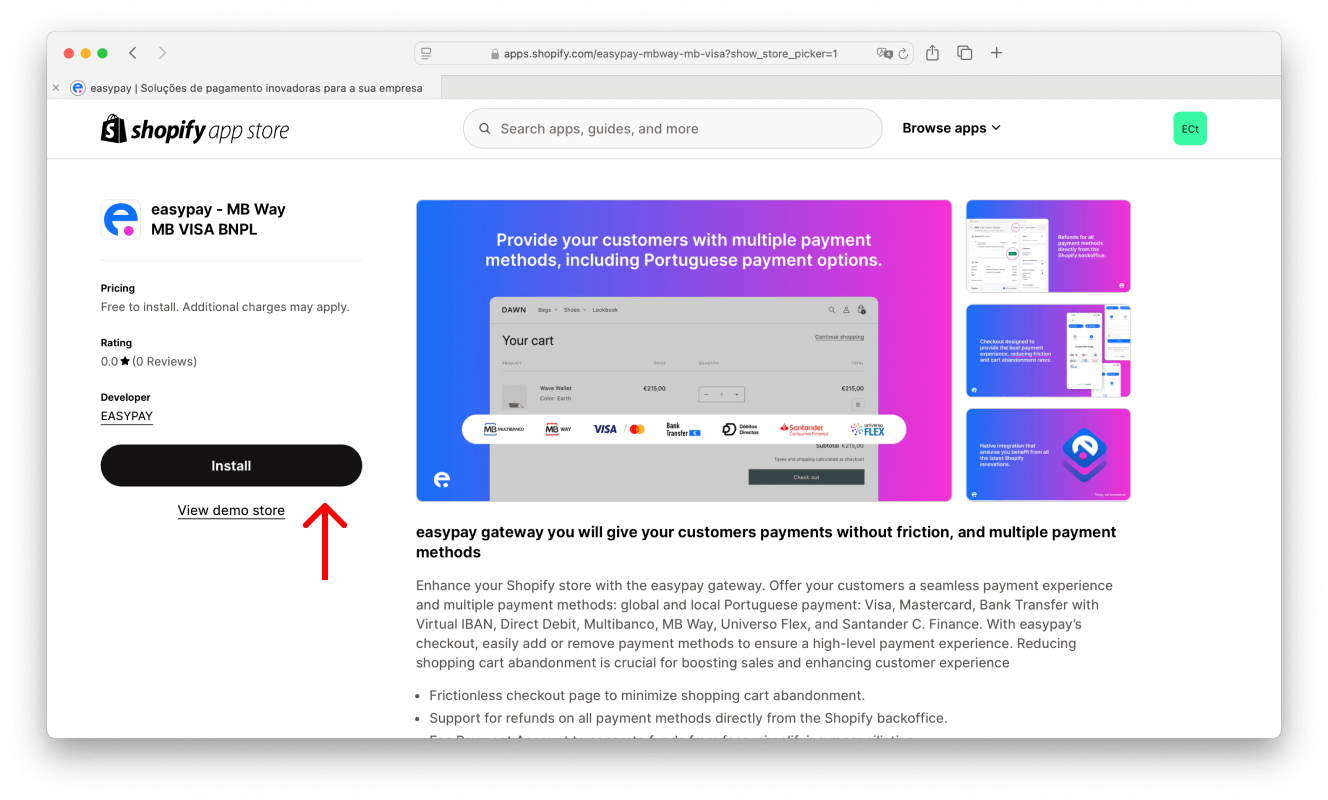
Step 2: Confirm installation within Shopify
After being redirected to your Shopify store, click the “Install” button again to confirm the installation of the app.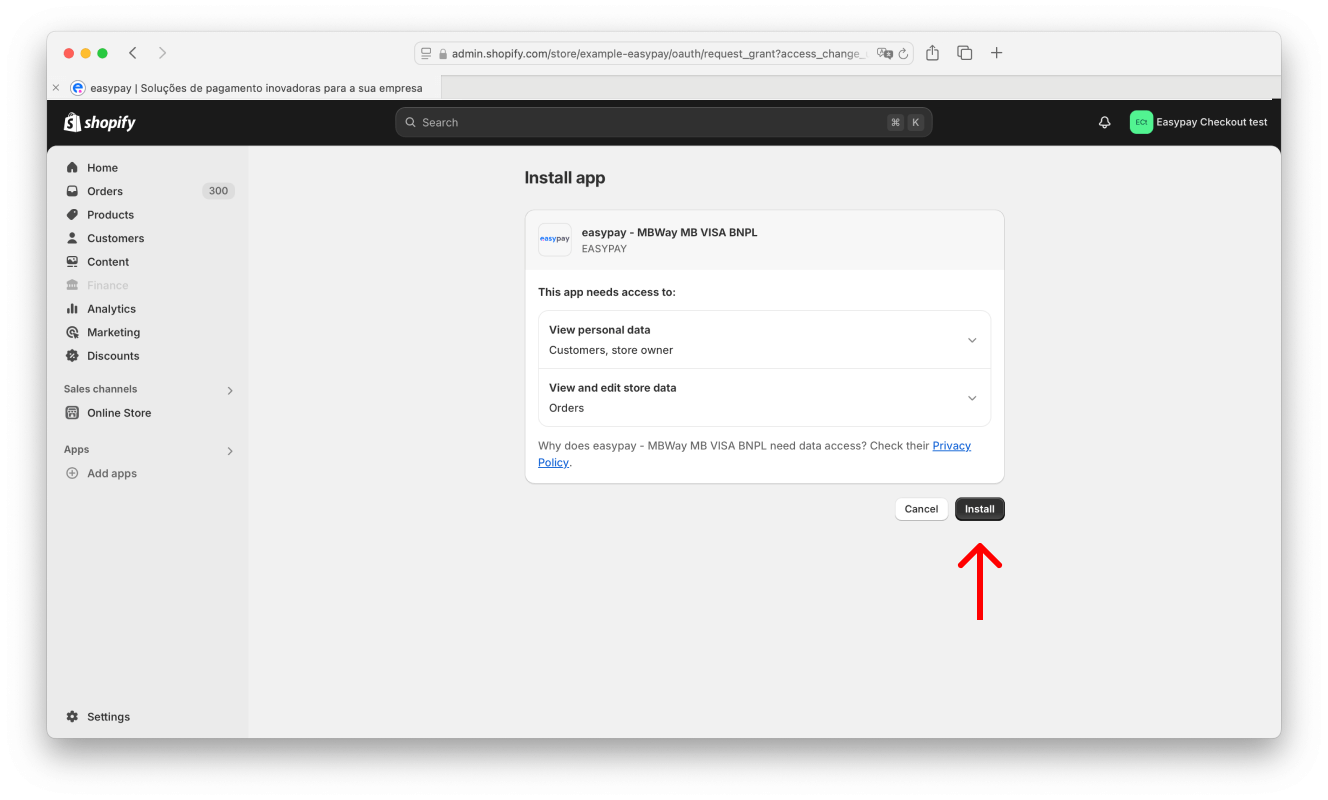
Step 3: Easypay App Configuration
After installation, you will be redirected to the easypay e-commerce app. Here, you must enter the API ID and Key in the block dedicated to easypay.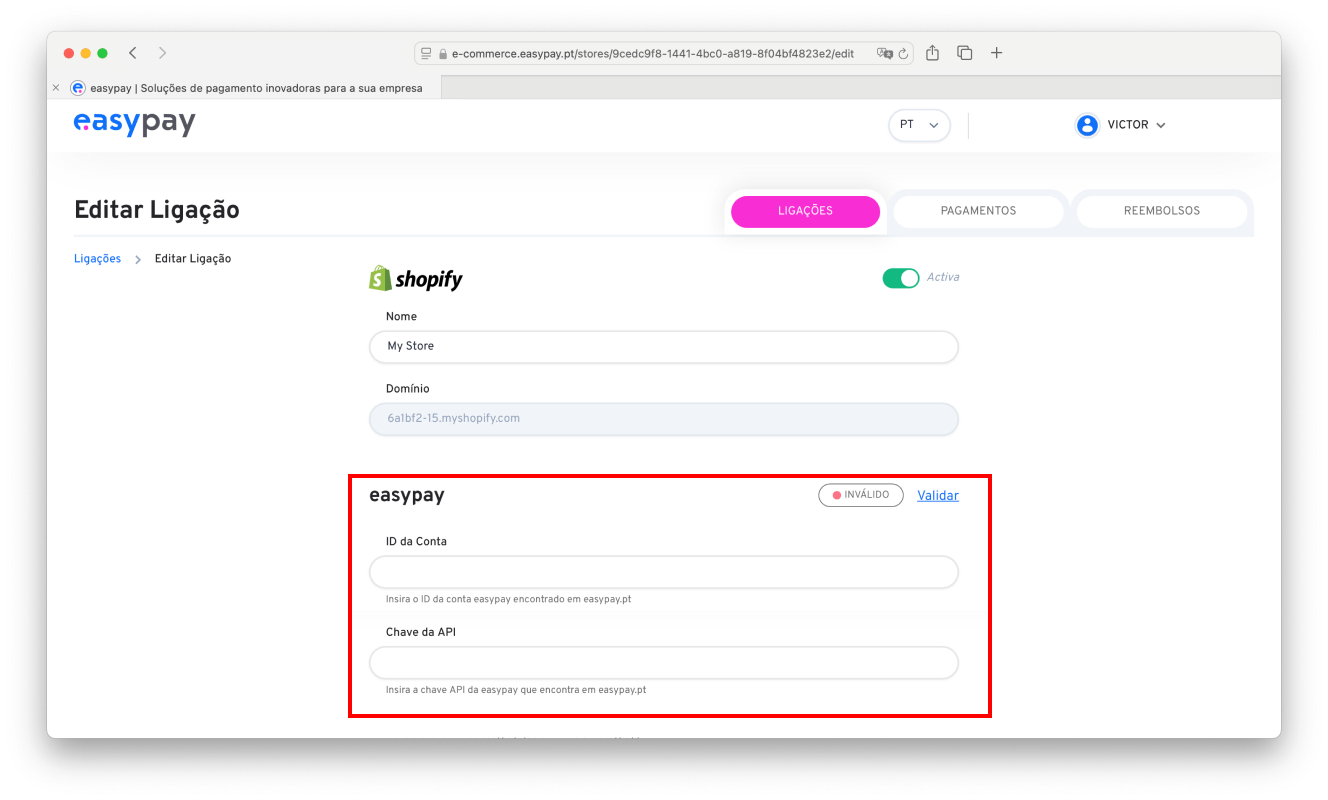
If you don’t know how to create API keys, see the official guide on how to generate authentication keys.
Step 4: API Key Validation
After entering the API keys, click “Correct” to validate the keys.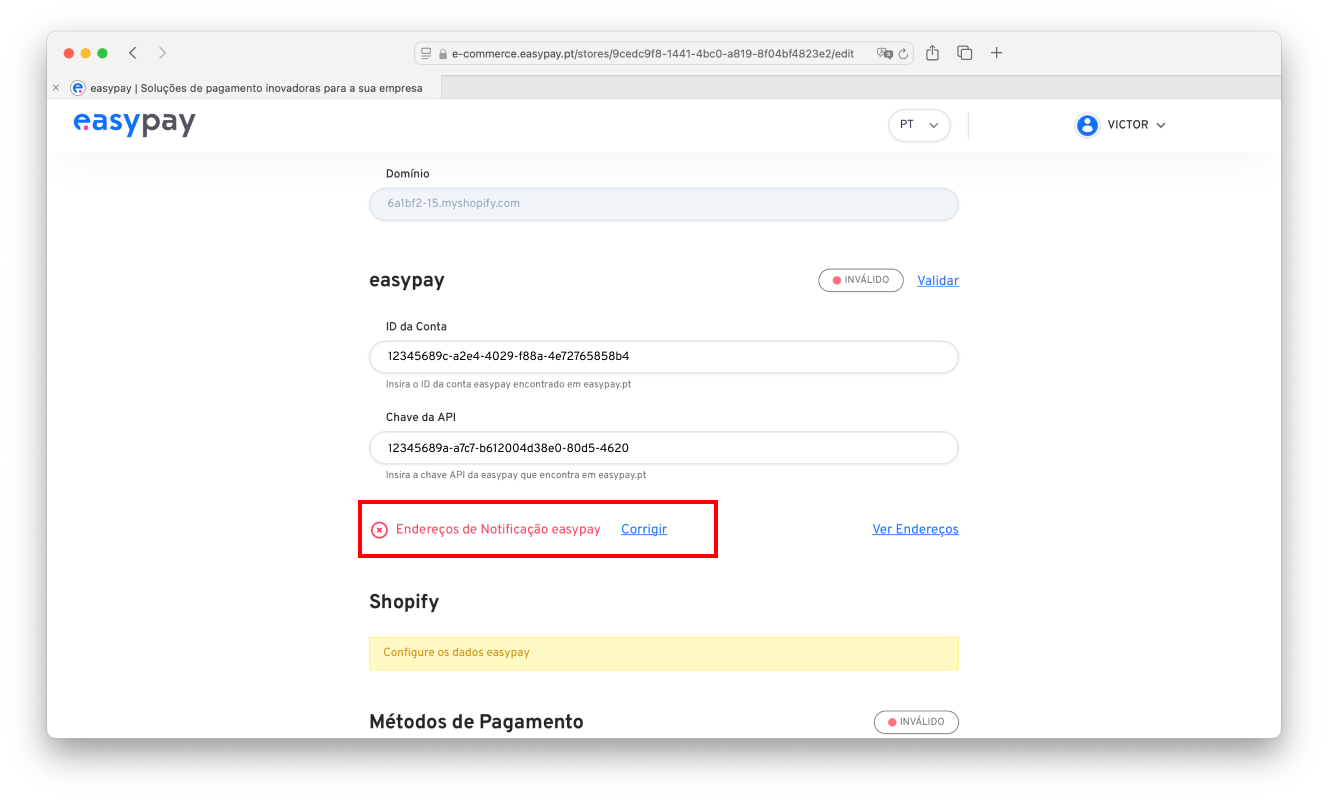
Step 5: Finish Installation
After successful validation, click on the “Finish Installation in Shopify” button. You will be redirected again to your Shopify store, where you must activate the app.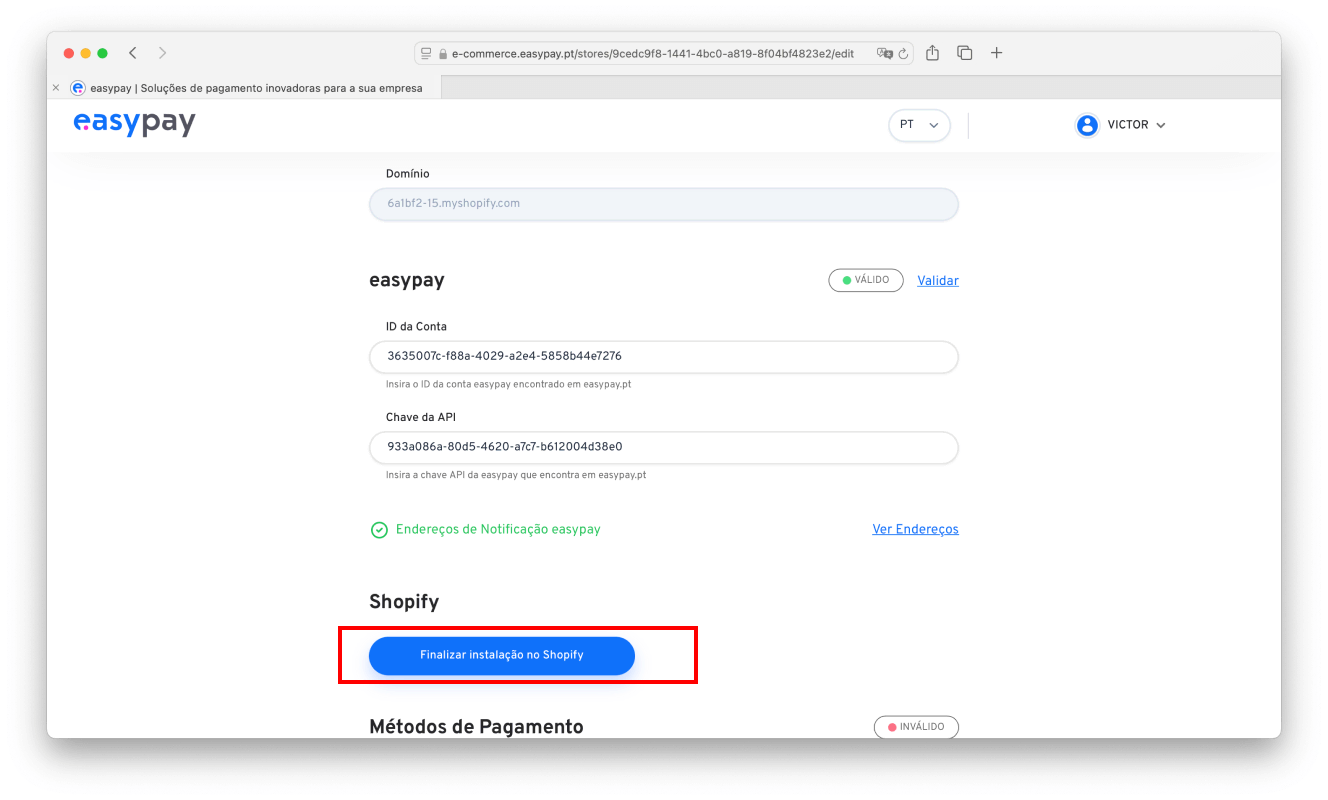
Step 2
Optional Installation (Advanced Integration)
This step is optional, but allows access to native Shopify functions and advanced communication between Shopify and easypay backoffice.
Made this connection will automatically have these features (at the order level):
- The orders created will be updated with Payment Methods (with Shopify TAGS)
- ATM details will go to the “Additional Details” of the orders (when it is the ATM payment method)
- In e-Commerce the order number of the shopify store will appear (ex #1234)
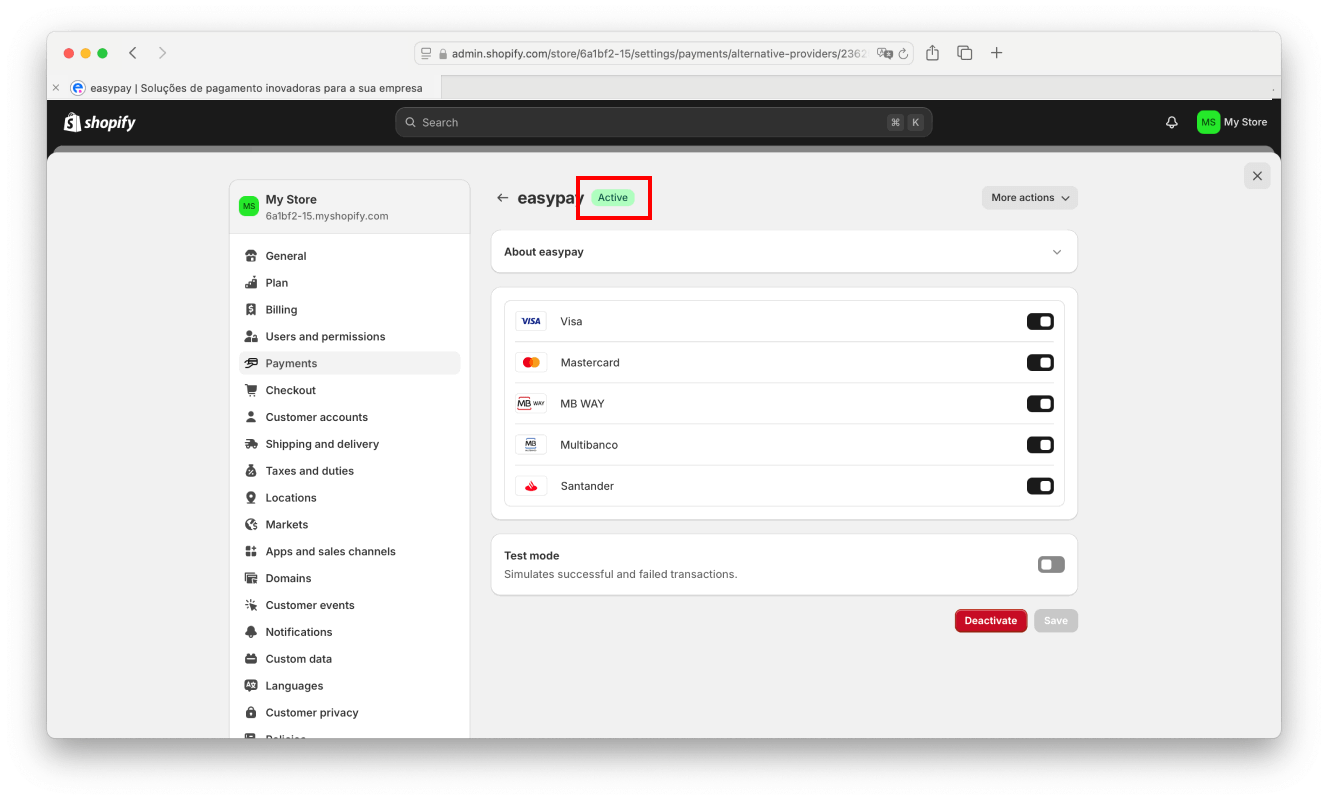
Step 1: Checking the App Activation in easypay
On the easypay e-commerce platform, in the “Shopify” block, click on the “Manage in Shopify” button. Inside Shopify make sure the app is active and click “Save”.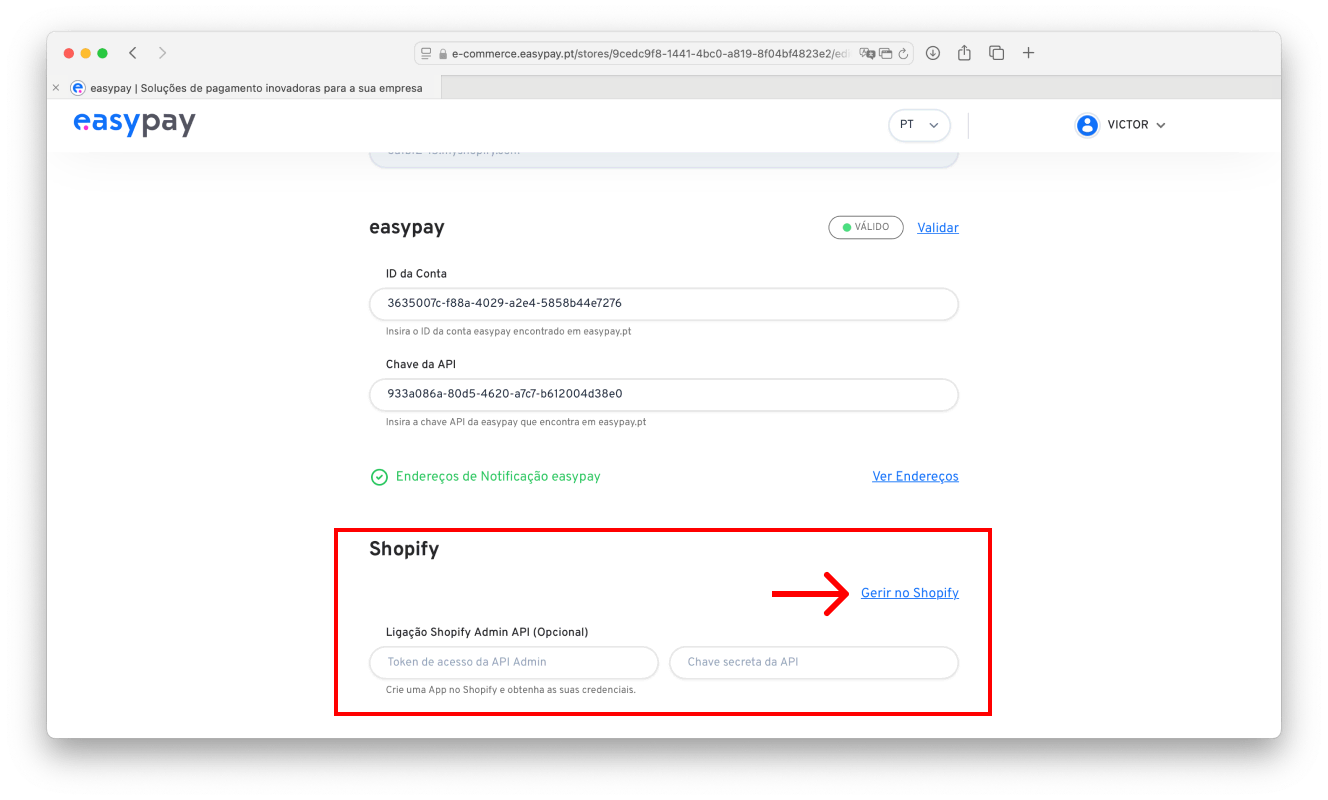
Step 2: Access to the App Menu in Shopify
In your Shopify store, go to the Apps and sales channels menu > Click on “Develop apps” and then “Create an app”.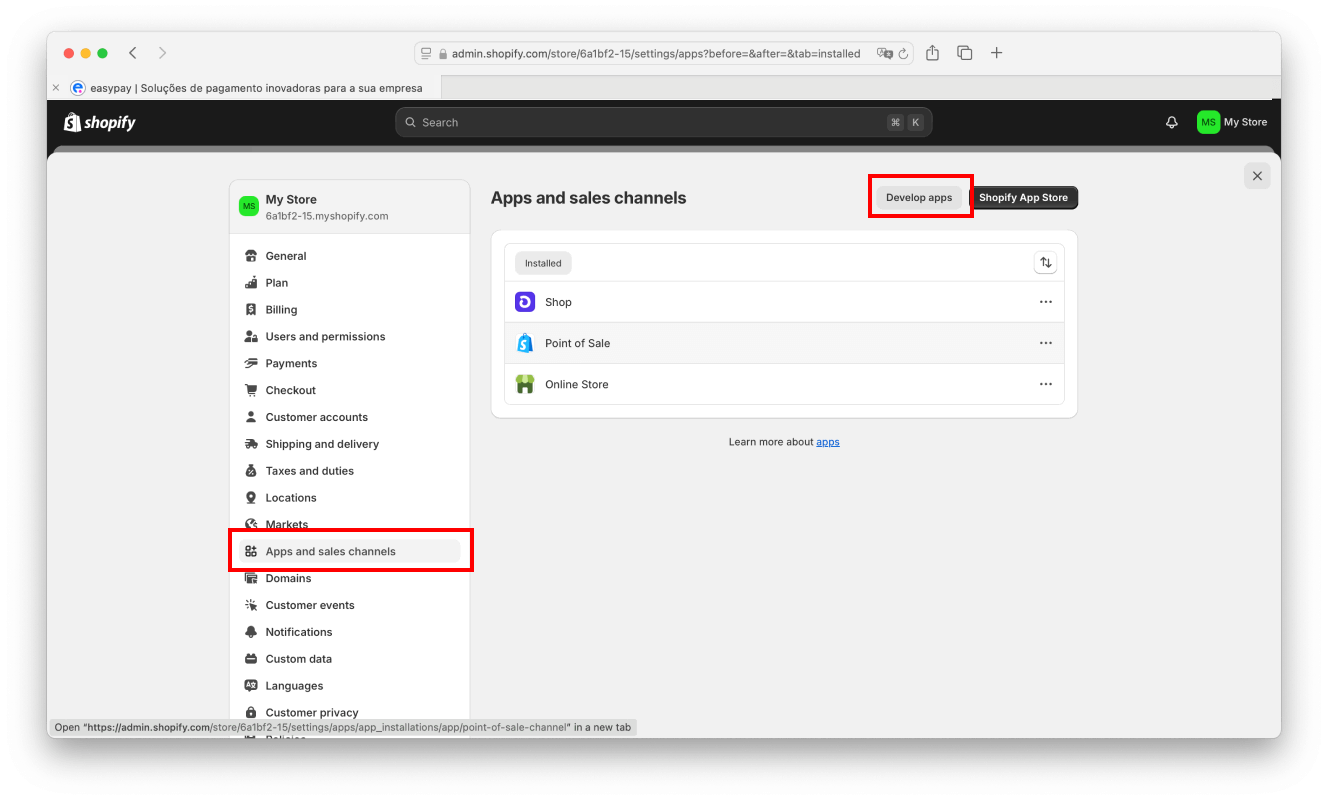
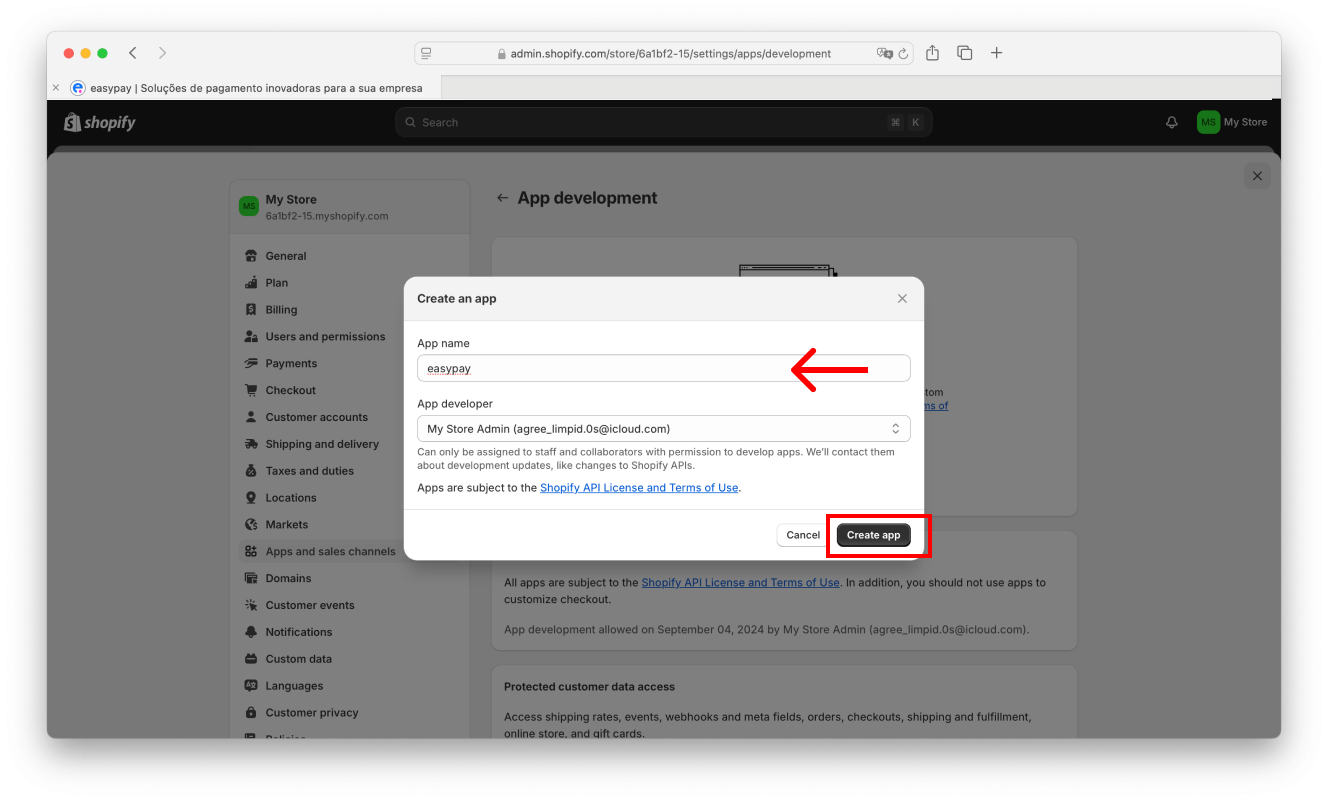
Step 3: Create New App
In the modal that opens, give the application a name and click “Create app” to complete.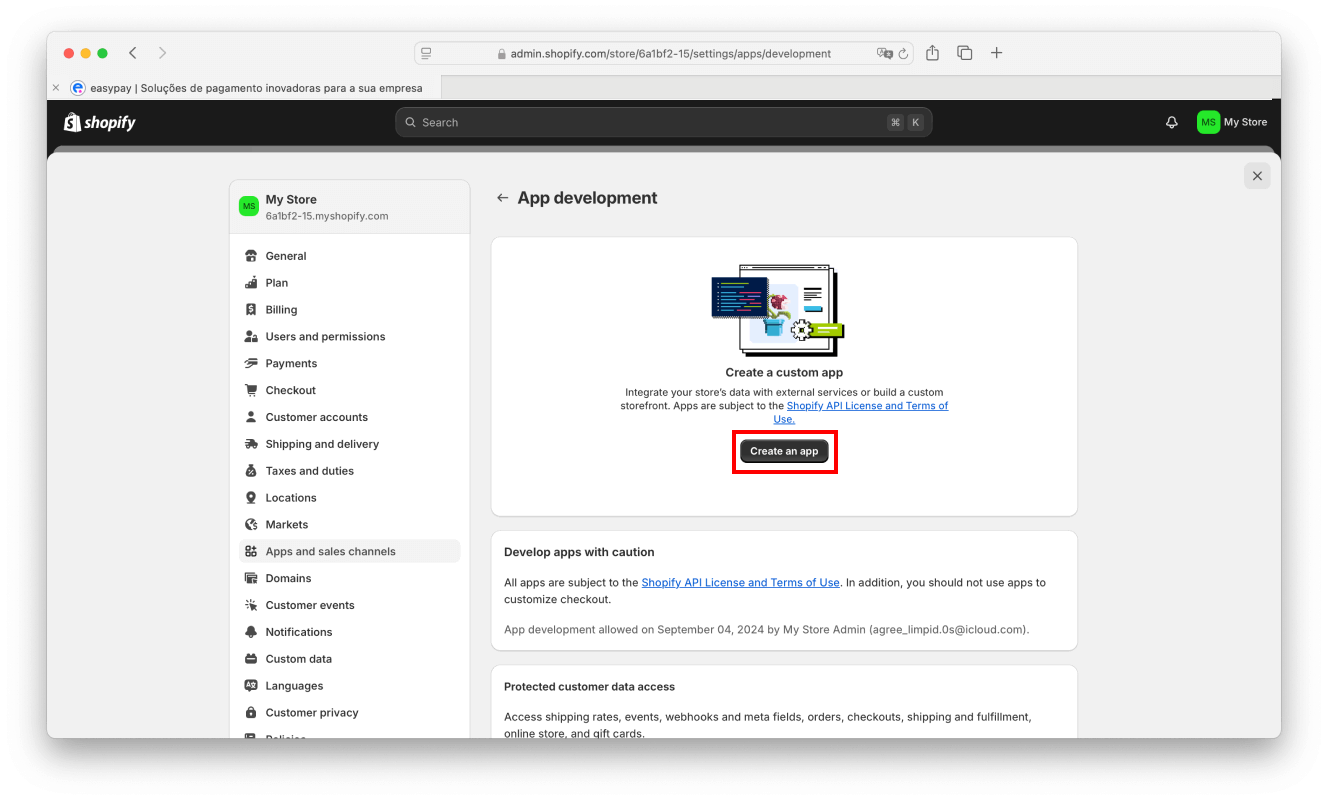
Step 4: API Configuration
Click on the Configuration tab and, in the “Admin API integration” block, select “Configure”.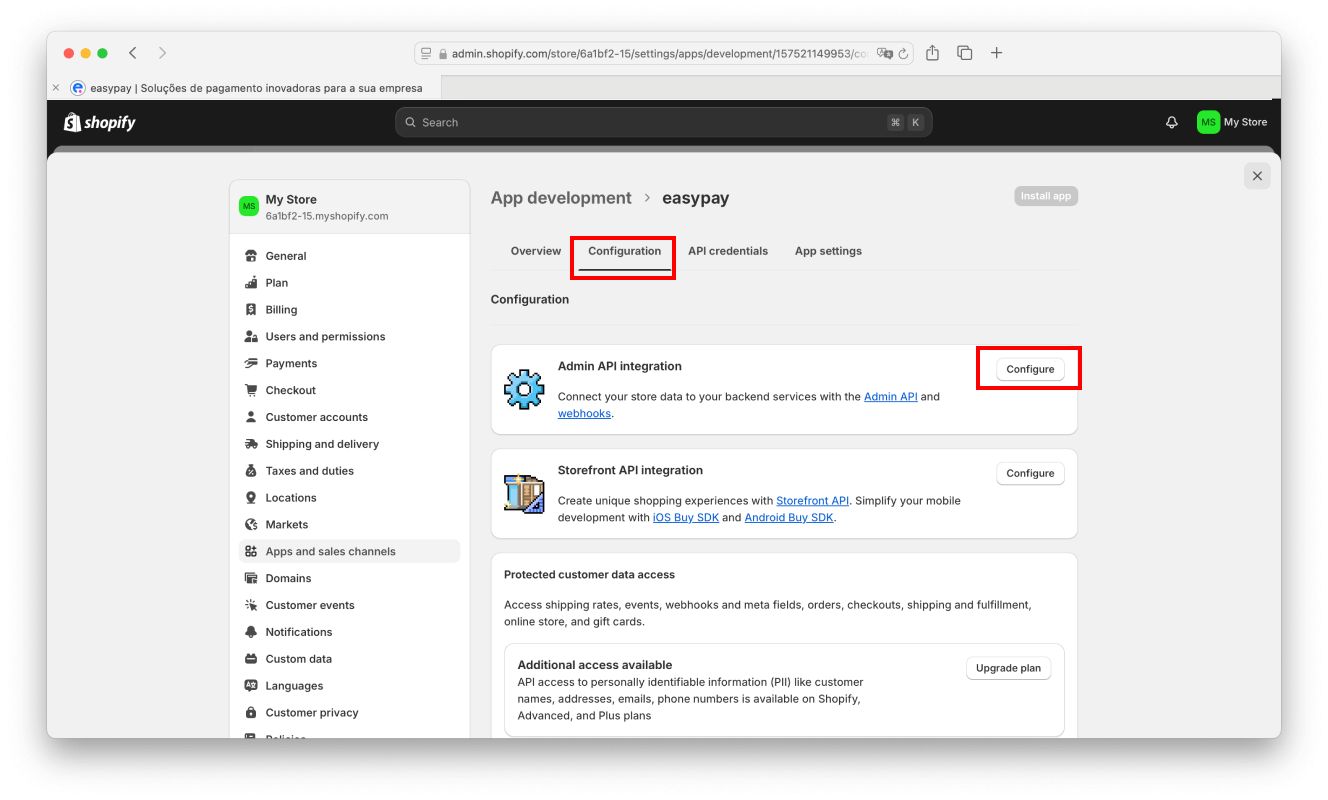
Step 5: Permission Settings
Search for “Orders” in the search bar and check the write_orders and read_orders permissions and press the save.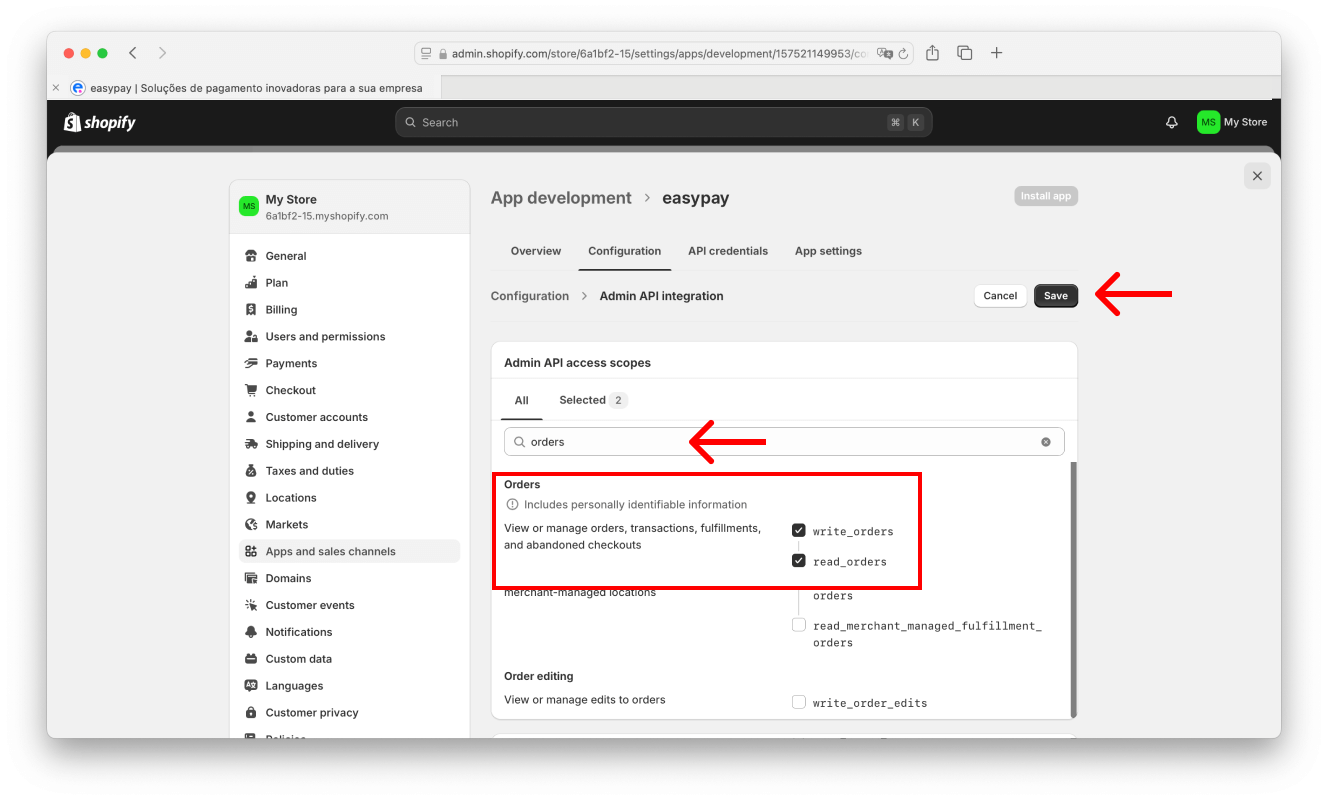
Step 6: Get API Credentials
Go to the API credentials tab, copy and save the following values:
•Admin API access token
•API secret key
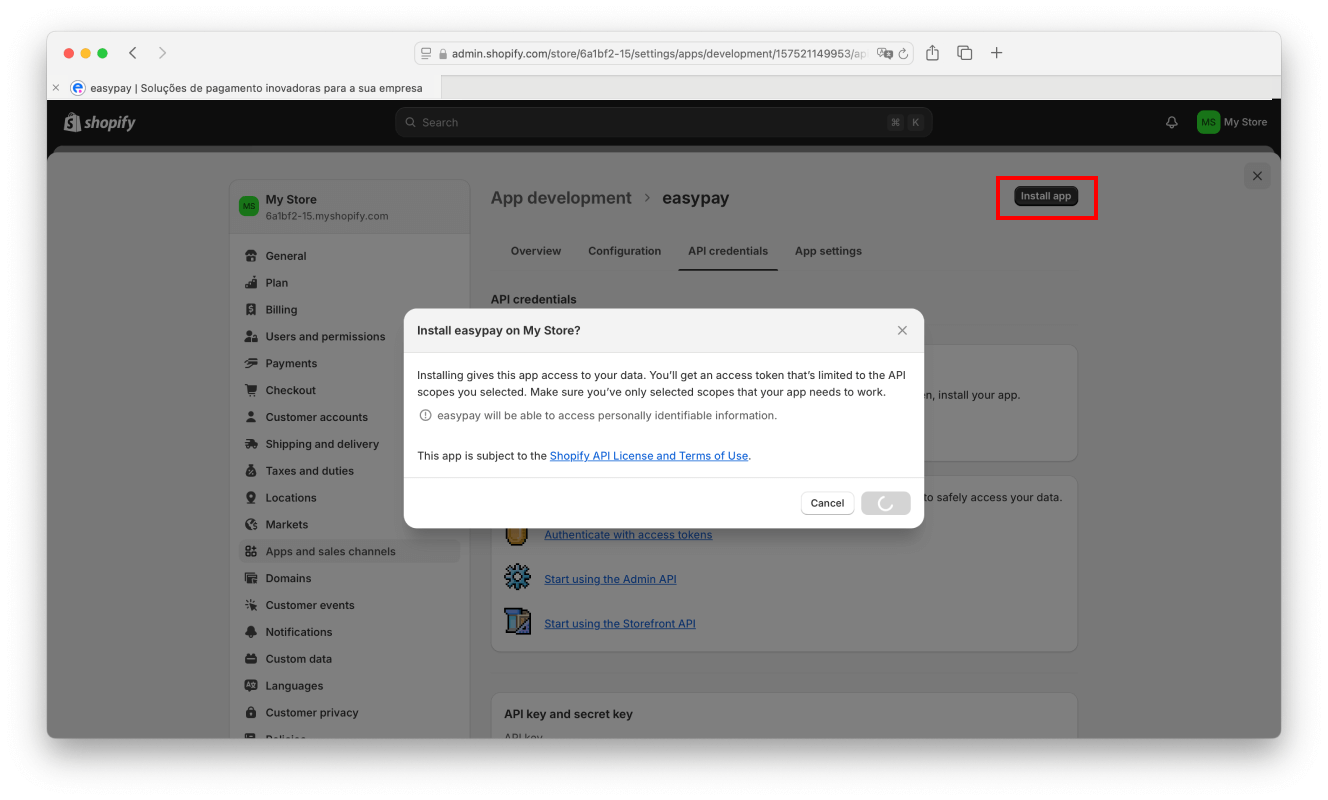
After the keys are generated, click on the Install App button.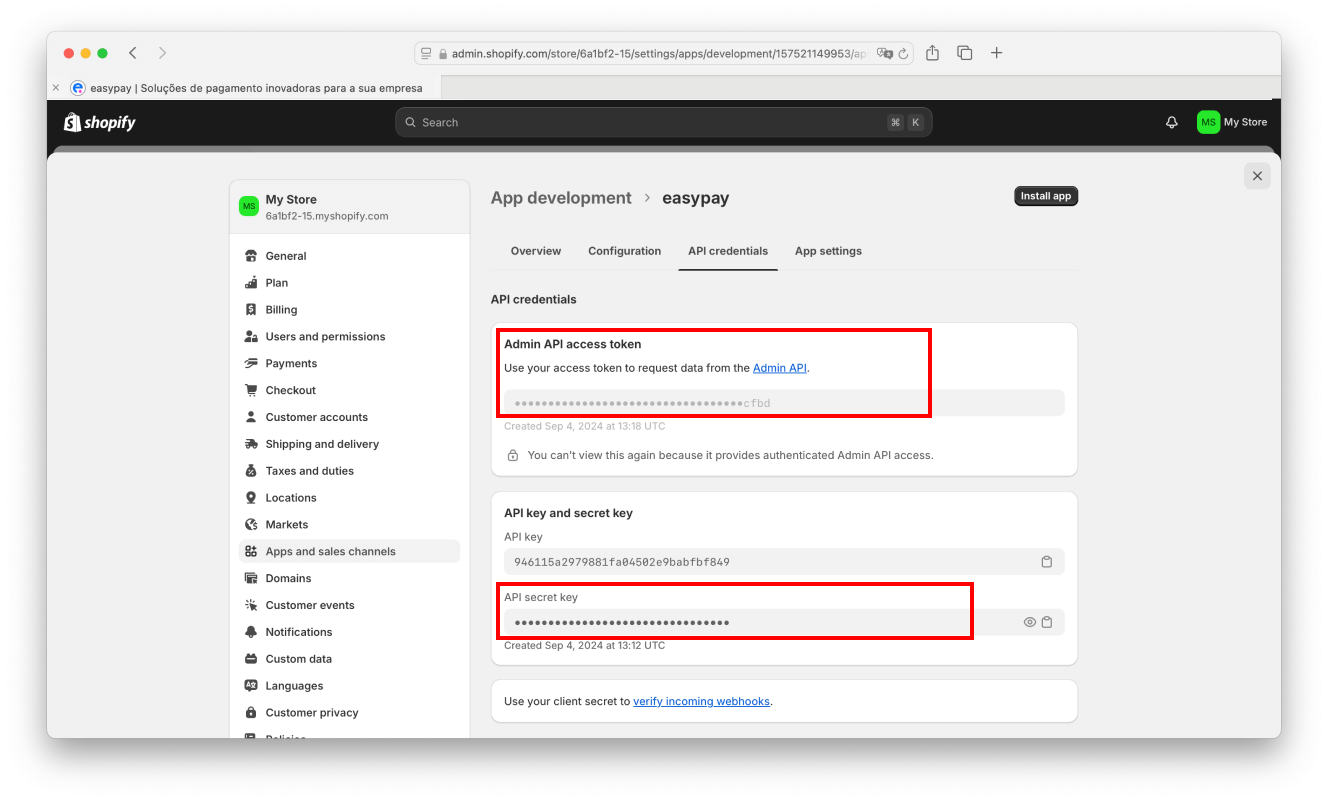
Step 7: Inserting Credentials in easypay
Return to the easypay e-commerce page and add the copied values in the “Admin API access token” and “API secret key” fields.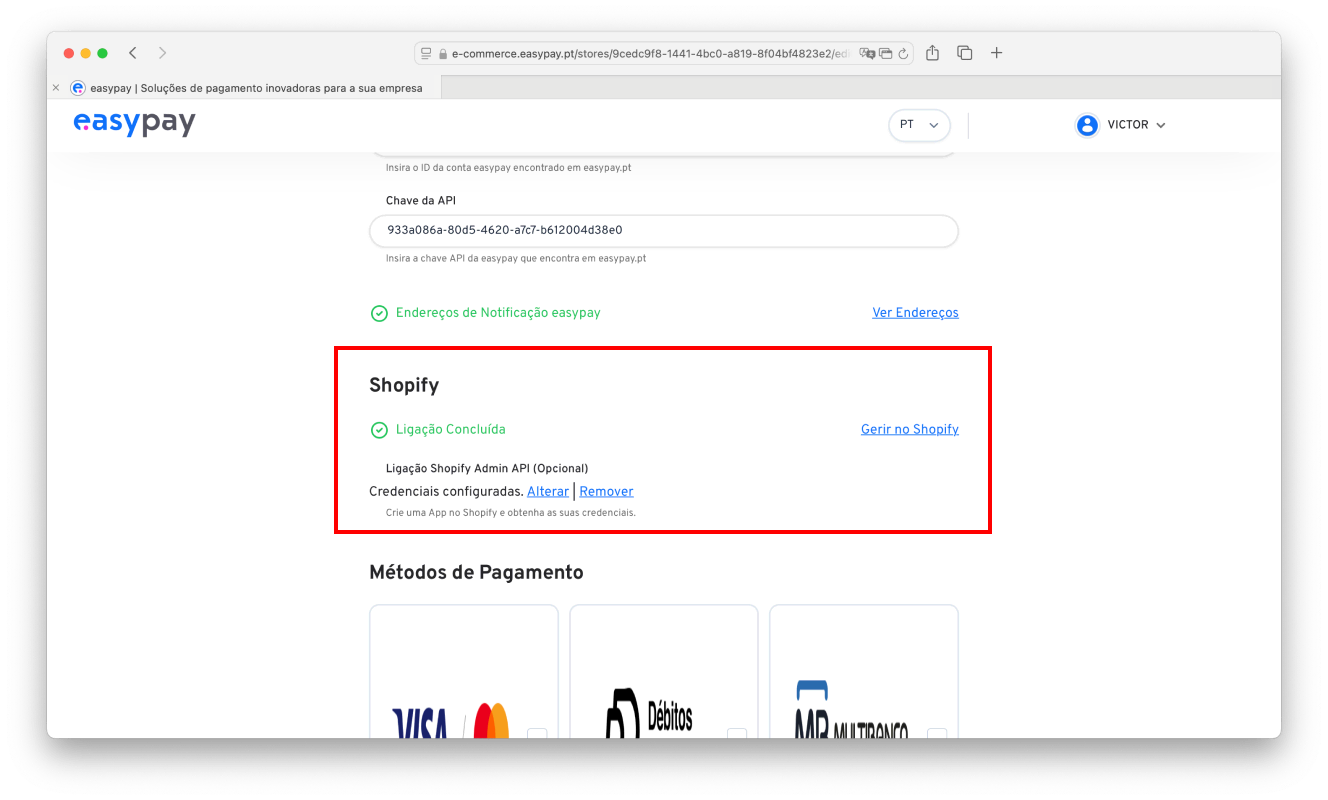
At the bottom of the page, click “Record”. If everything is correct, the message “Call completed successfully” will be displayed.
Following all the steps of this tutorial, your Shopify store will be correctly integrated with easypay, ensuring the operation of all payment features offered by easypay.